Getting Started
A quick overview of how to mount, setup and configure our solution.
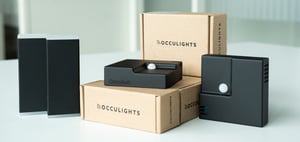
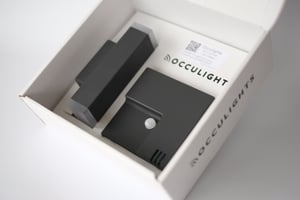
In the box
- OccuHub
- OccuLight
- QR code for provisioning
OccuHub
1. Mount and connect devices
Positioning and mounting- Mount Occulight and Occuhub at their designated locations. Ensure they are mounted securely.
- Mount the hub either in the ceiling or on the wall.
- Mount Occulight outside the room, either vertically or horizontally. We recommend using an angled ethernet cable

2. Check device indicators
If the light and hub has been paired from before, Occulight will flash red twice during boot-up.

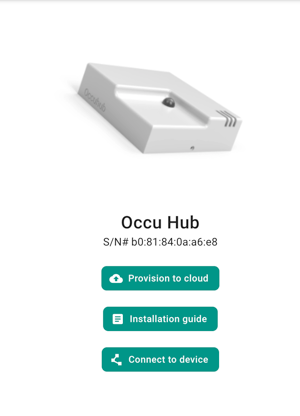
3. Configuring
- Either scan the QR code on the box or go to https://app.occulights.com/inventory/{mac address of hub}
- Click on provison to cloud.
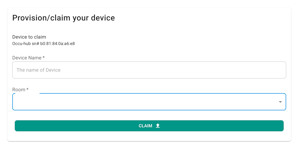
5. Claim device
- Give the device a name.
- Select or create a room from the drop down menu
- Click on claim.
6. Device Configuration
Navigate to Rooms and find your newly created device. Click on the id to access the rooms details page. Perform setting adjustments for holdtime and add your light. Adding the Occulight is done by clicking the + icon, input the mac address of the light, found on the box.